How to Deadlift With Perfect Form (Stop Making These Mistakes)
Reviewed by the fitness & nutrition editorial team · Certified personal trainers & nutrition coaches
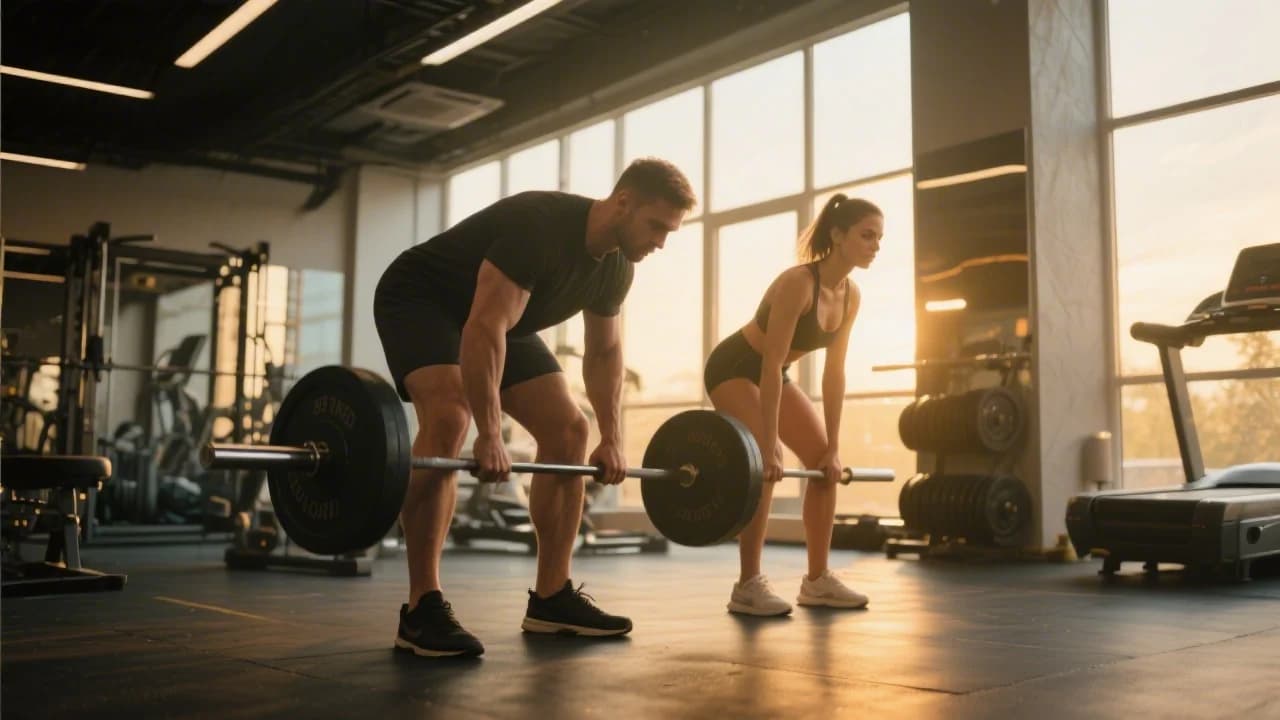
The King of All Lifts: Why You Need to Deadlift
In the world of strength and conditioning, few exercises command as much respect as the deadlift. It is the ultimate expression of raw, functional strength. Unlike the squat or the bench press, which involve a lowering phase before the exertion, the deadlift begins from a 'dead' stop. This requires you to generate massive amounts of force instantaneously without the benefit of the stretch-shortening cycle.
The benefits of the deadlift are nearly unparalleled. It targets the entire posterior chain—your hamstrings, glutes, spinal erectors, and lats—while also demanding significant core stability and grip strength. Studies in the Journal of Strength and Conditioning Research have shown that heavy compound movements like the deadlift can stimulate a significant hormonal response, increasing the production of growth hormone and testosterone, which are critical for muscle hypertrophy and fat loss.
The deadlift isn't just a back exercise; it's a full-body movement that teaches you how to move heavy objects safely in the real world.
However, the deadlift's reputation as a 'back-breaker' is often due to poor technique rather than the movement itself. When performed correctly, it actually strengthens the structures surrounding the spine, making you more resilient to injury. To reap these rewards, you must transition from simply 'lifting the bar' to 'executing a movement pattern.' This guide will break down the biomechanics of the perfect deadlift and show you how to leverage the FitFlow ecosystem to ensure every rep counts toward your goals.
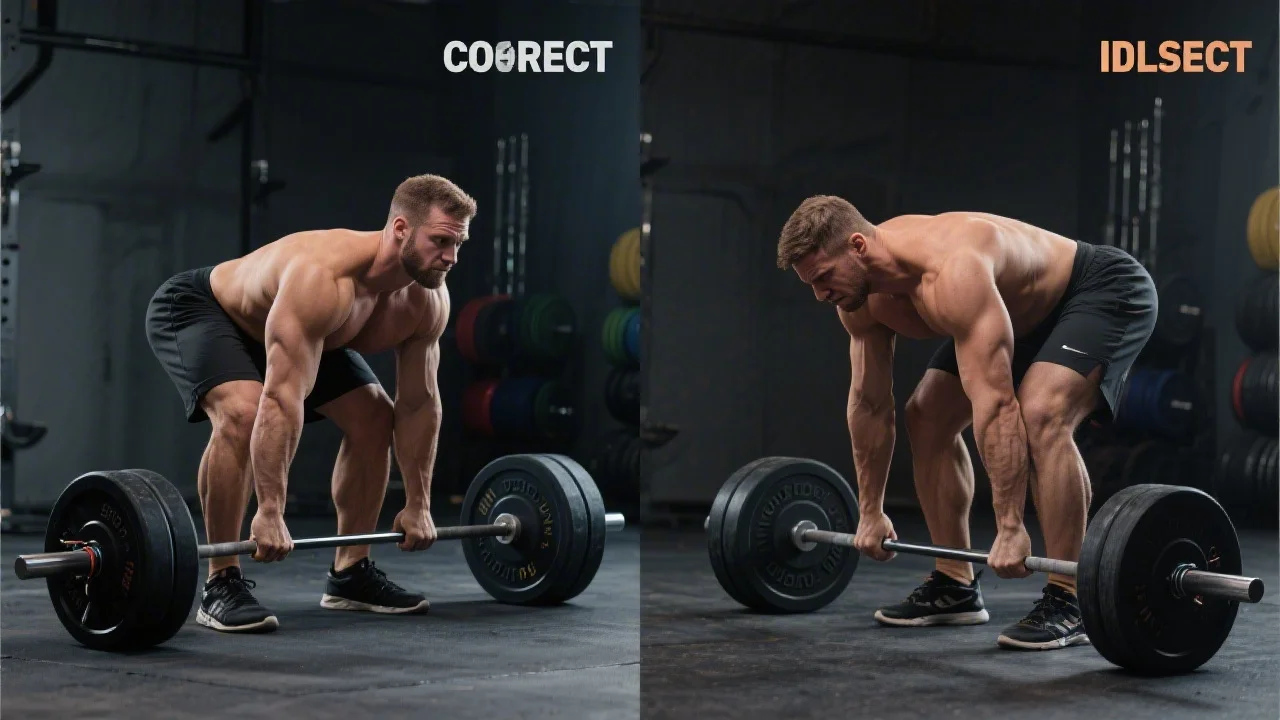
The Setup: Building a Solid Foundation
Most deadlift failures happen before the bar even leaves the floor. A poor setup forces your body into inefficient leverage, putting unnecessary stress on the lumbar spine. To master the setup, follow these non-negotiable steps:
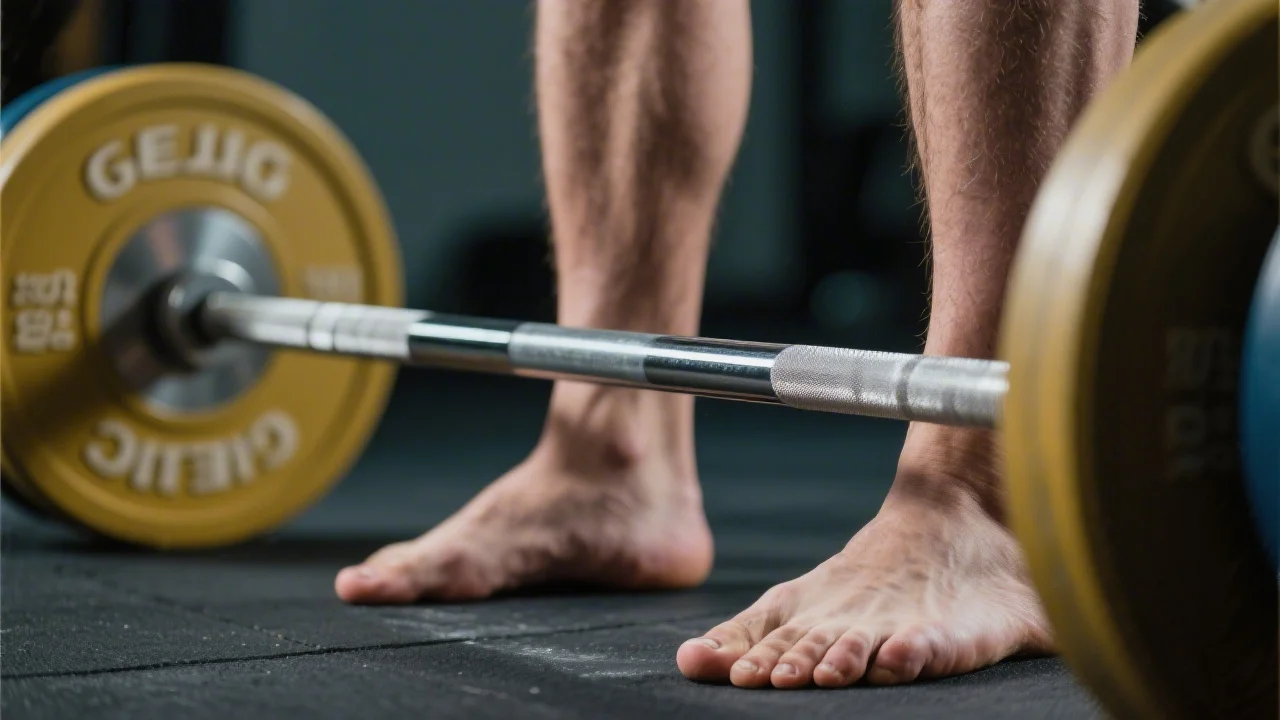
1. Foot Positioning
Approach the barbell and place your feet about hip-width apart. A common mistake is using a squat stance (shoulder-width or wider), which blocks your arms from hanging straight down. The bar should be positioned directly over your mid-foot—not your toes and not touching your shins yet. When you look down, the bar should bisect your foot.
2. The Grip and Hinge
Without moving the bar, hinge at the hips and reach down to grab the bar. Your hands should be just outside your legs. You can use a double-overhand grip for general strength or a mixed grip (one hand over, one hand under) for maximum attempts. As you reach down, ensure you are hinging—pushing your glutes back—rather than squatting down. Your shins should only touch the bar once you've set your grip.
3. Setting the Back and Lats
This is where most lifters fail. You must 'pull the slack' out of the bar. Think about trying to bend the bar around your shins. This engages your latissimus dorsi, which stabilizes the spine. Your chest should be up, and your shoulder blades should be tucked into your back pockets. At this point, your back should be a flat, rigid line from your head to your sacrum.
- Mid-foot balance: Ensure your weight is distributed across the whole foot, not just the heels.
- Shin angle: Keep shins as vertical as possible to keep the bar close to your center of gravity.
- Neutral neck: Don't look up at the mirror; look at a point on the floor about 6-10 feet in front of you.
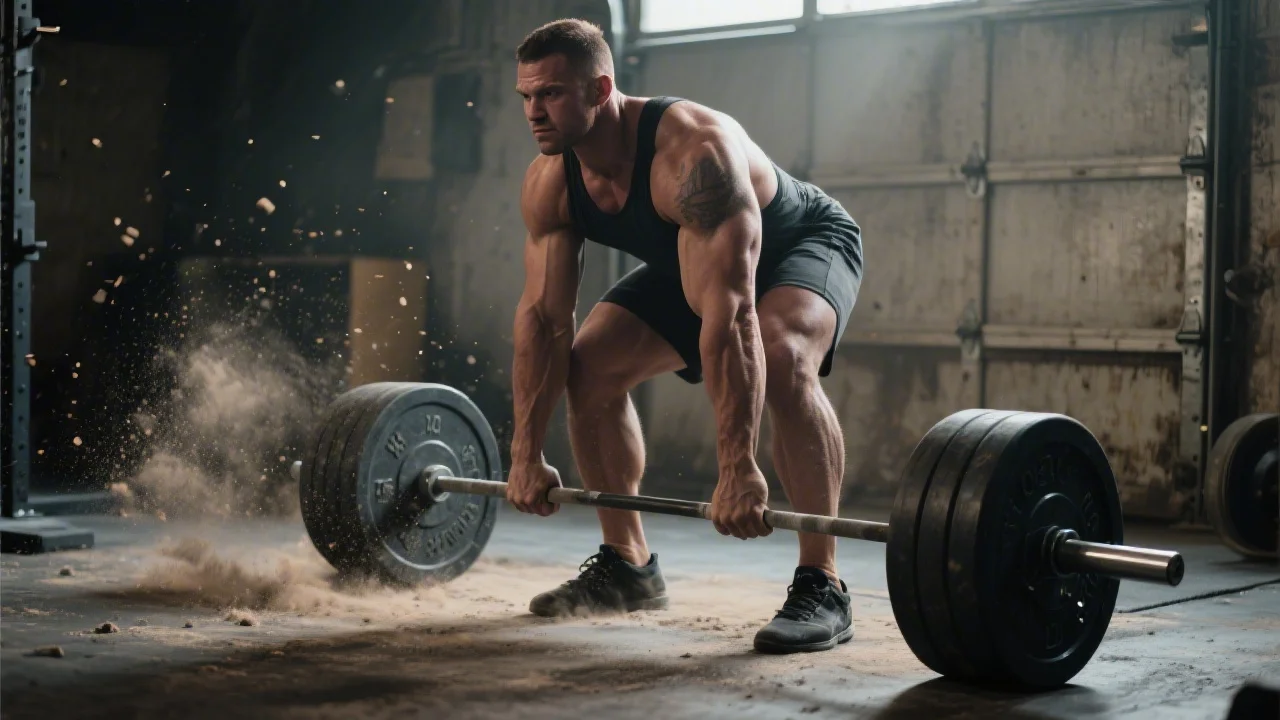
Executing the Pull: Physics in Motion
Once you are locked in, the pull is a coordinated effort between your legs and your back. The deadlift is often misidentified as a 'pulling' movement, but it starts as a 'pushing' movement. You are pushing the floor away from you.
The Initial Break
Initiate the lift by driving your feet into the ground. Your hips and shoulders should rise at the exact same rate. If your hips shoot up first (the 'stripper pull'), you lose all leg drive and the lift becomes a dangerous stiff-legged deadlift. If your shoulders rise first without the bar moving, you are likely losing your back positioning.
The Transition and Lockout
As the bar passes your knees, transition from pushing with the legs to driving the hips forward. This is the 'hinge' in reverse. Think about meeting the bar with your hips. The lockout should be a strong, vertical position. Do not lean back at the top; this puts excessive compressive force on the lumbar discs. Simply stand tall, squeeze your glutes, and stand firm.
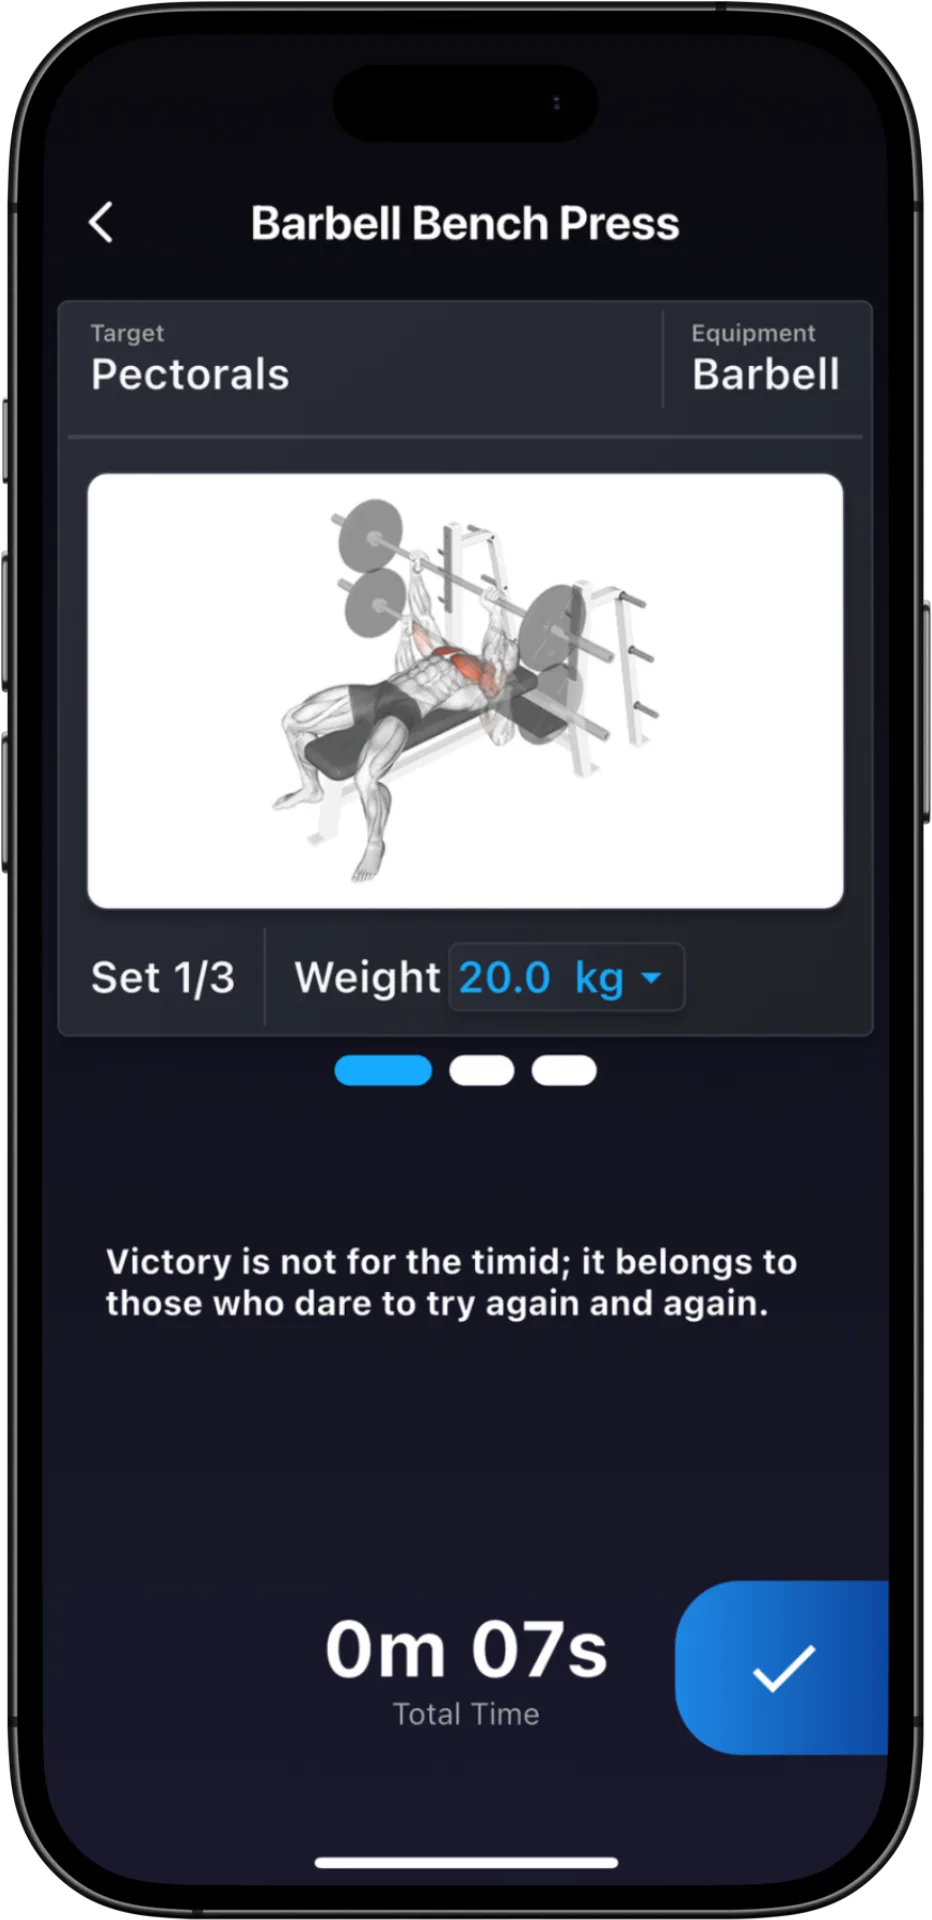
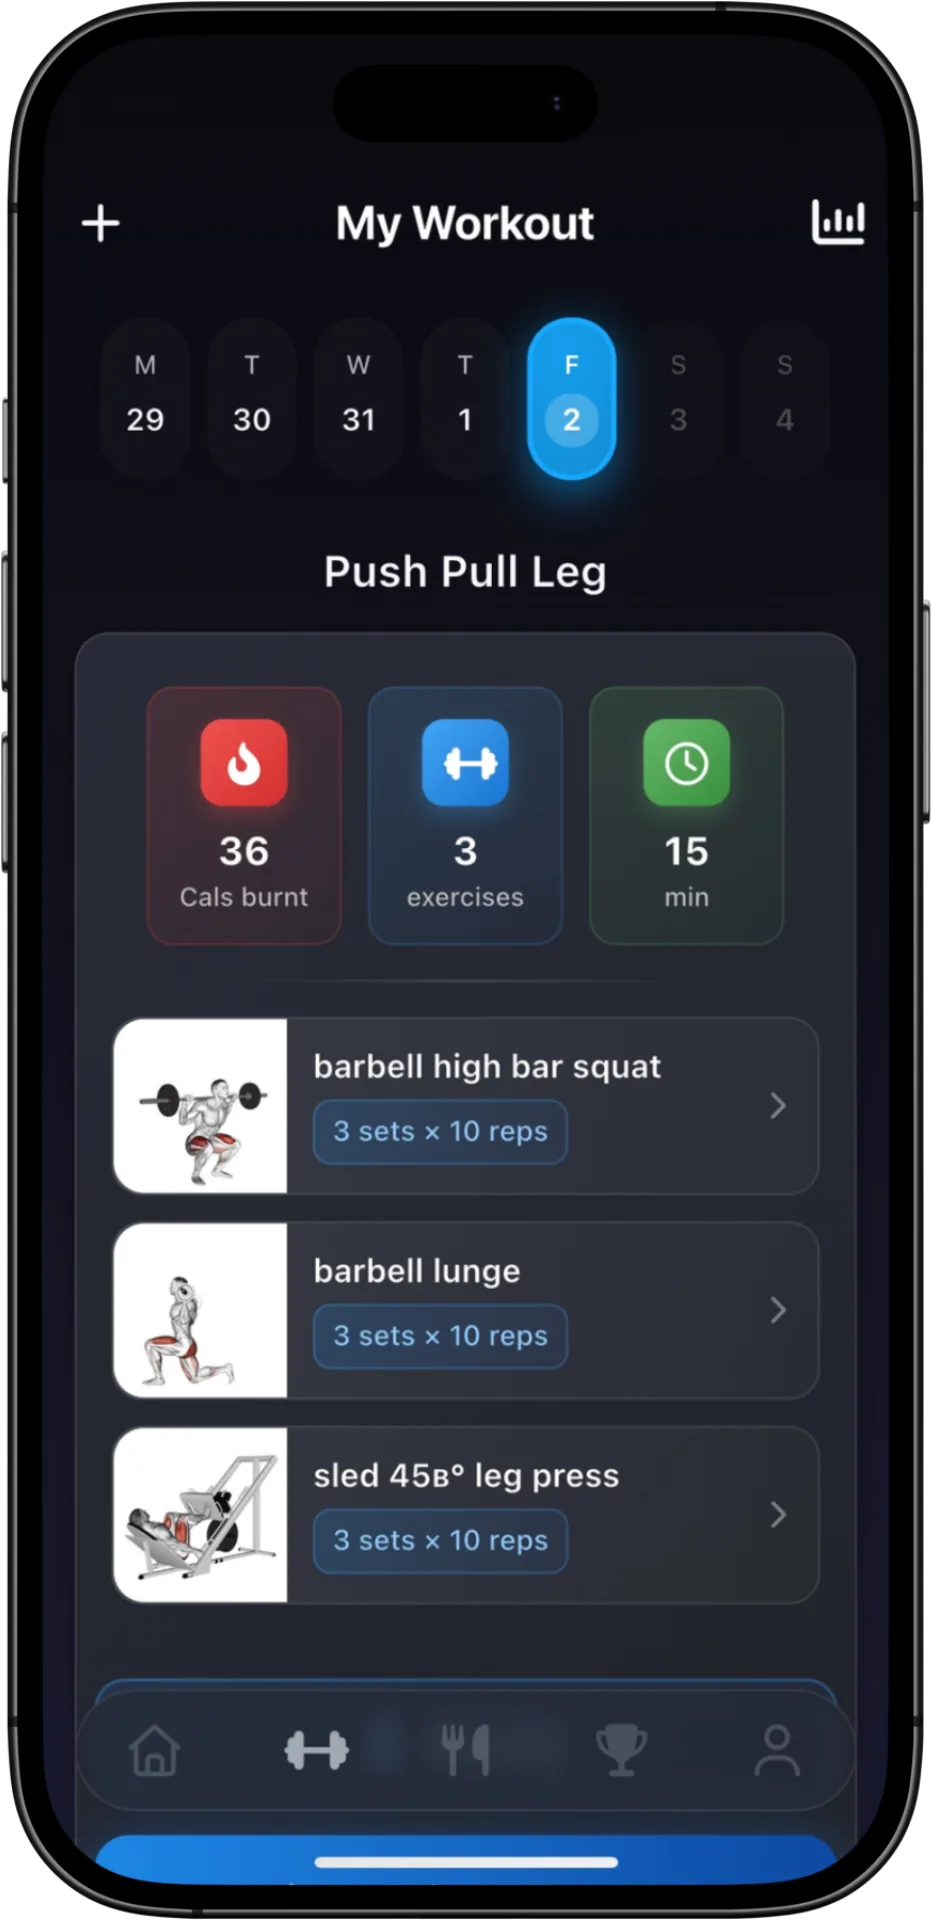
To ensure you are performing these movements with the correct tempo and rest intervals, you can use the Smart Workout Tracking feature in FitFlow. The app provides real-time tracking of sets and reps, and if you're unsure about your form during a session, you can quickly reference the 1,000+ guided exercise videos to verify your hip height and bar path.
Common Mistakes and How to Fix Them
Even experienced lifters fall into bad habits. Identifying these early is the key to long-term progress and spinal health.
The 'Cat Back' (Lumbar Flexion)
Rounding the lower back is the most common and dangerous mistake. This usually happens because the weight is too heavy or the lifter hasn't properly engaged their lats. If you find your back rounding, drop the weight and focus on 'bracing.' Use the Valsalva maneuver: take a deep diaphragmatic breath, hold it, and flex your abs as if someone is about to punch you. This creates intra-abdominal pressure that acts as an internal weight belt.
Yanking the Bar
Many beginners try to 'jerk' the bar off the floor to create momentum. This is a recipe for a bicep tear or a herniated disc. You must maintain tension. Pull the slack out until you hear the 'click' of the plates hitting the bar, then progressively increase force until the bar leaves the floor.
The Descent
Many people drop the bar or lower it with poor form. The descent is just as important as the ascent. To lower the bar, hinge at the hips until the bar clears your knees, then drop your hips to return the bar to the floor. Never let the bar drift away from your body; it should shave your thighs and shins the entire way down.
If you're struggling to visualize these errors, FitFlow's Intelligent Form Guidance can help. By utilizing the app's workout analytics, you can track if your strength is plateauing, which is often a sign of technical breakdown rather than a lack of muscle.
Deadlift Variations for Every Goal
The conventional deadlift is great, but it might not be the best fit for everyone's anatomy or goals. Depending on your hip socket depth and limb lengths, you might find more success with a variation.
The Sumo Deadlift
With a wide stance and hands inside the legs, the sumo deadlift reduces the range of motion and puts more emphasis on the quads and adductors. It is often preferred by lifters with shorter arms or those looking to reduce lower back strain.
The Romanian Deadlift (RDL)
The RDL starts from a standing position and focuses on the eccentric (lowering) phase. It is a premier exercise for hamstring and glute hypertrophy. Unlike the standard deadlift, the RDL does not touch the floor between reps, maintaining constant tension on the posterior chain.
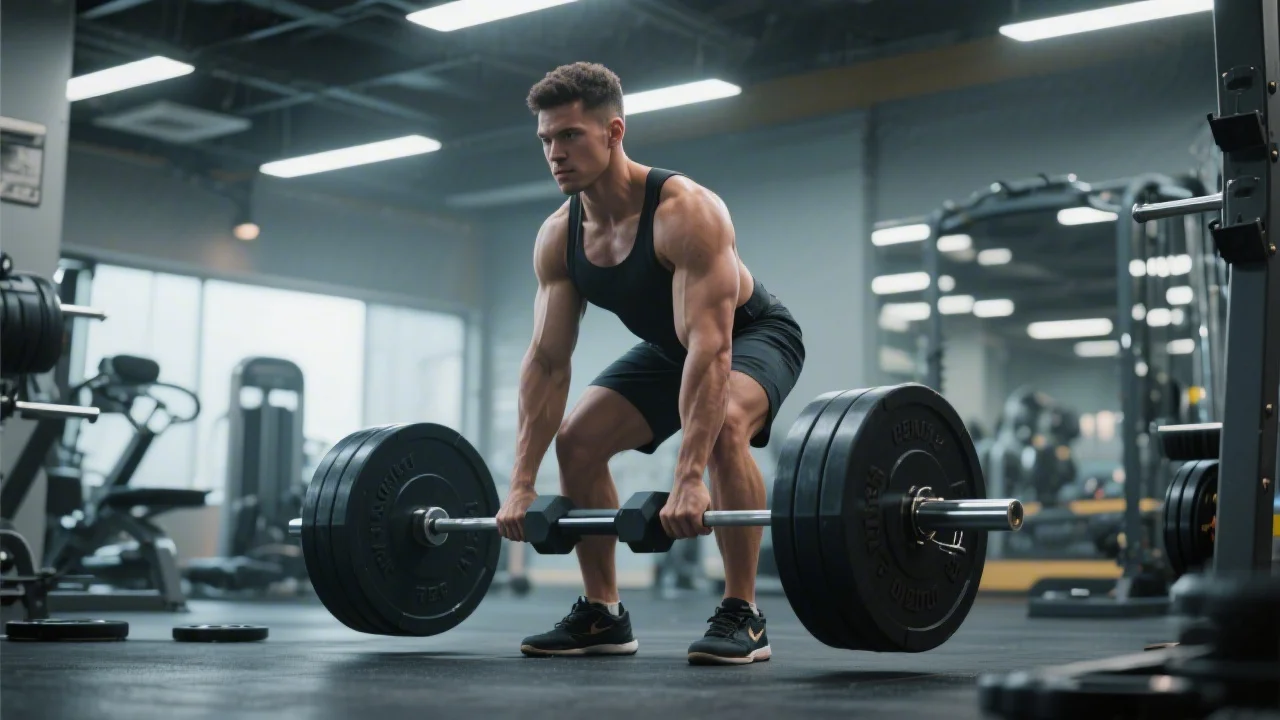
The Trap Bar (Hex Bar) Deadlift
This is often considered the 'safest' deadlift. Because you stand inside the bar, the center of gravity is aligned with your body rather than in front of it. This reduces the shearing force on the spine and allows for a more upright torso, making it an excellent choice for athletes and those with previous back issues.
Regardless of the variation you choose, FitFlow allows you to customize your Workout Journey. You can swap the conventional deadlift for a Trap Bar version in your plan, and the app will automatically adjust your volume and intensity recommendations based on your historical data.
Tracking Progress and Managing Load
The deadlift is a taxing movement on the Central Nervous System (CNS). You cannot max out every week and expect to recover. Progressive overload should be calculated and systematic. This is where data-driven fitness becomes your greatest asset.
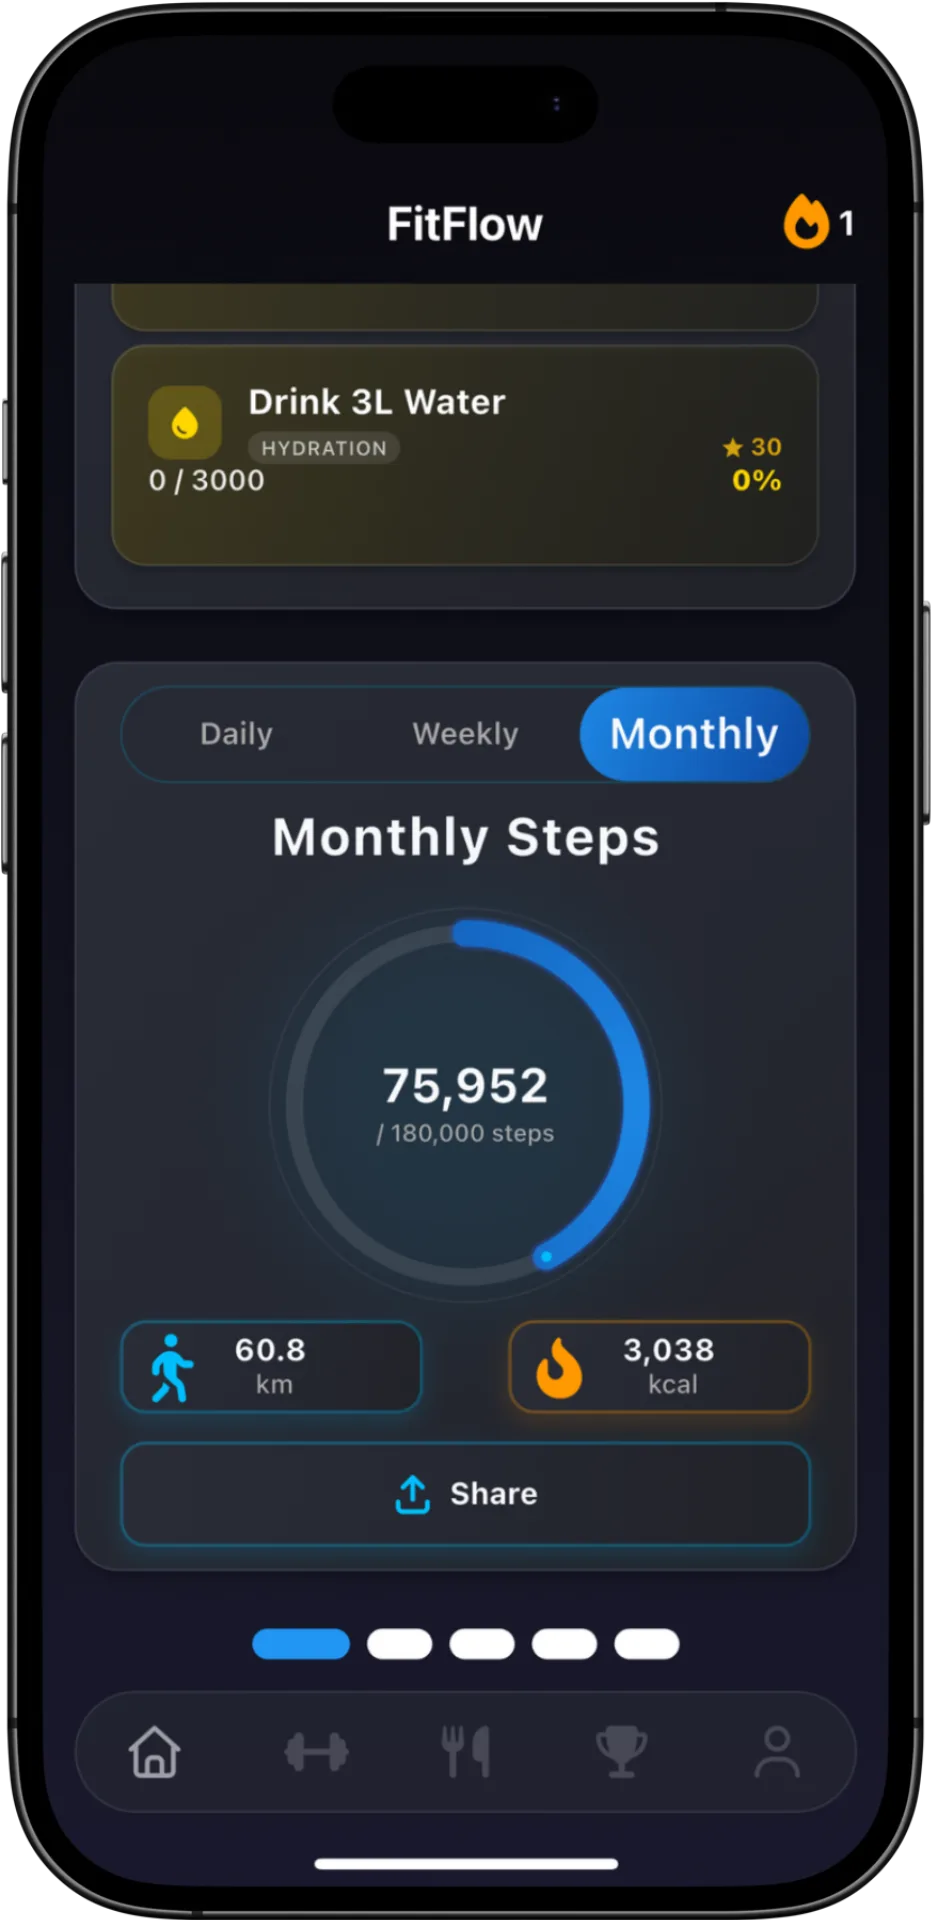
Using FitFlow's Progress Analytics, you can view visual charts of your estimated 1-rep max (1RM) over time. Instead of guessing what weight to put on the bar, FitFlow provides realistic weight defaults based on your previous performance. The app also tracks your personal records (PRs) and awards achievement badges, providing that extra hit of dopamine when you finally hit that three-plate milestone.
Furthermore, because the deadlift requires significant recovery, monitoring your 'Smart Goals' within the app is essential. If your sleep or water intake (tracked via the Water Intake Monitor) is low, it might be a sign to take a 'deload' week where you focus on technique with 50-60% of your max weight rather than pushing for a PR.
Fueling the Pull: Nutrition for Strength
You cannot build a world-class deadlift on a subpar diet. Heavy lifting requires a specific macronutrient profile to support muscle repair and glycogen replenishment. Protein is the building block, but carbohydrates are the fuel that allows you to move heavy iron.
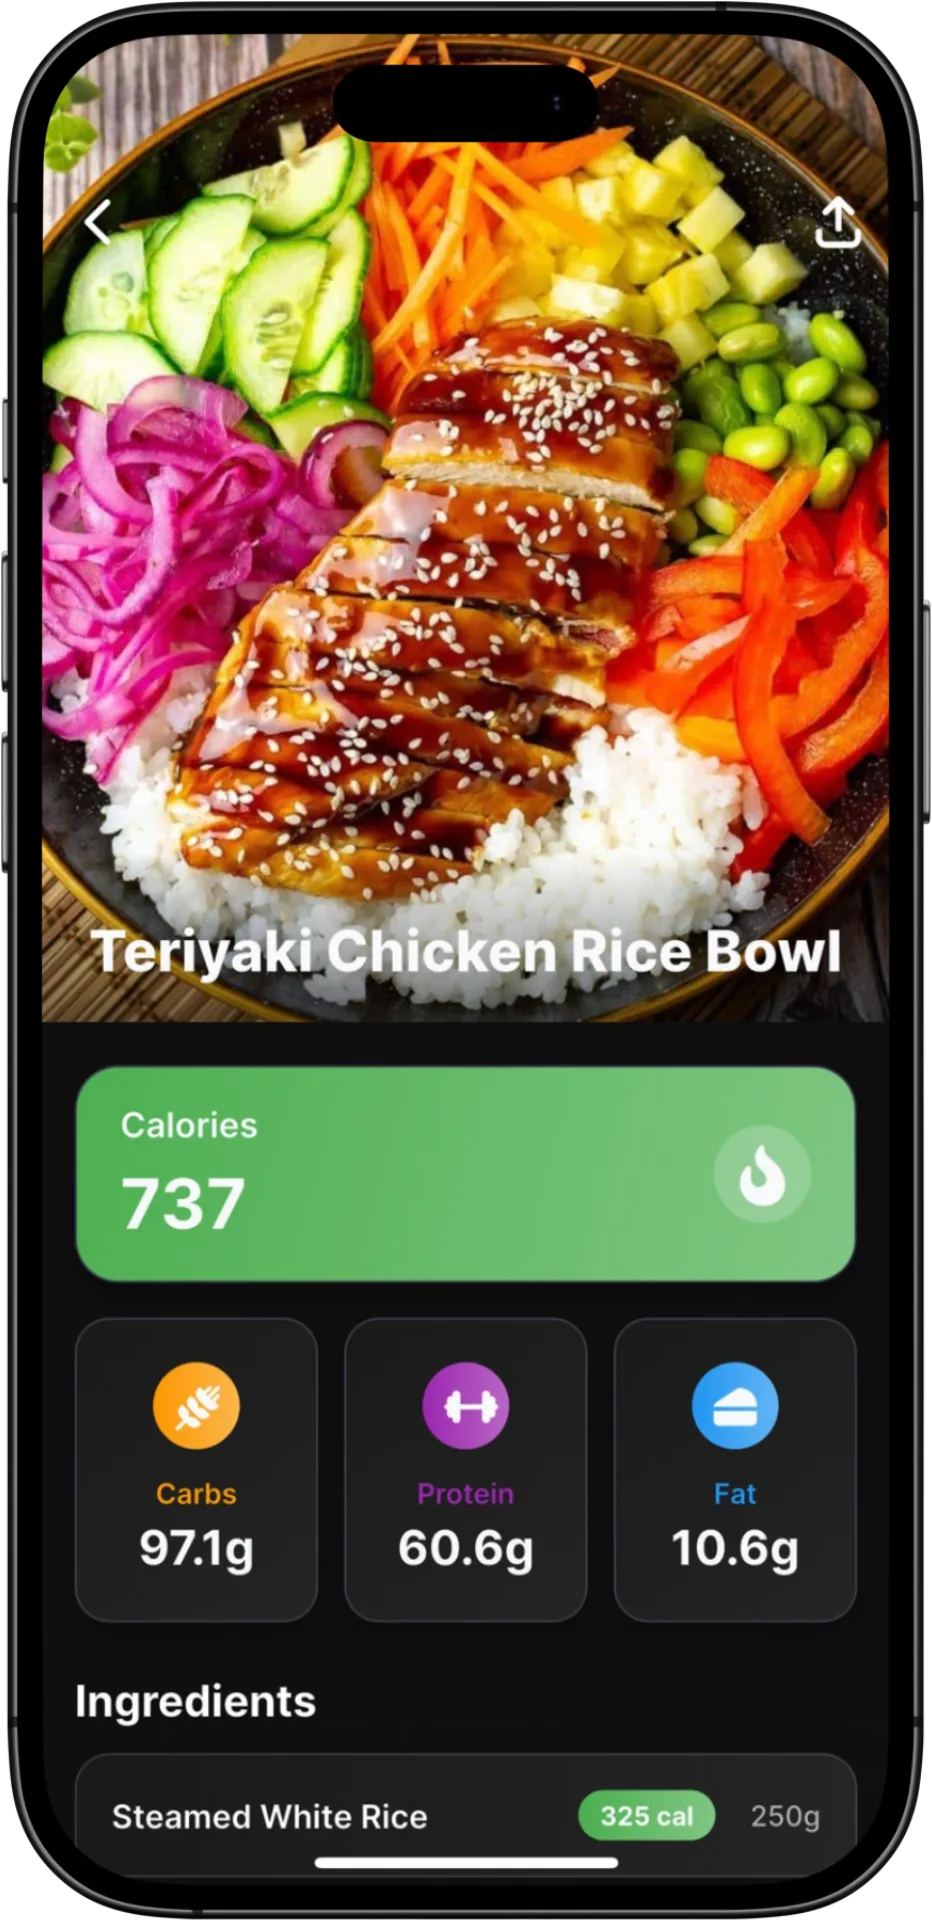
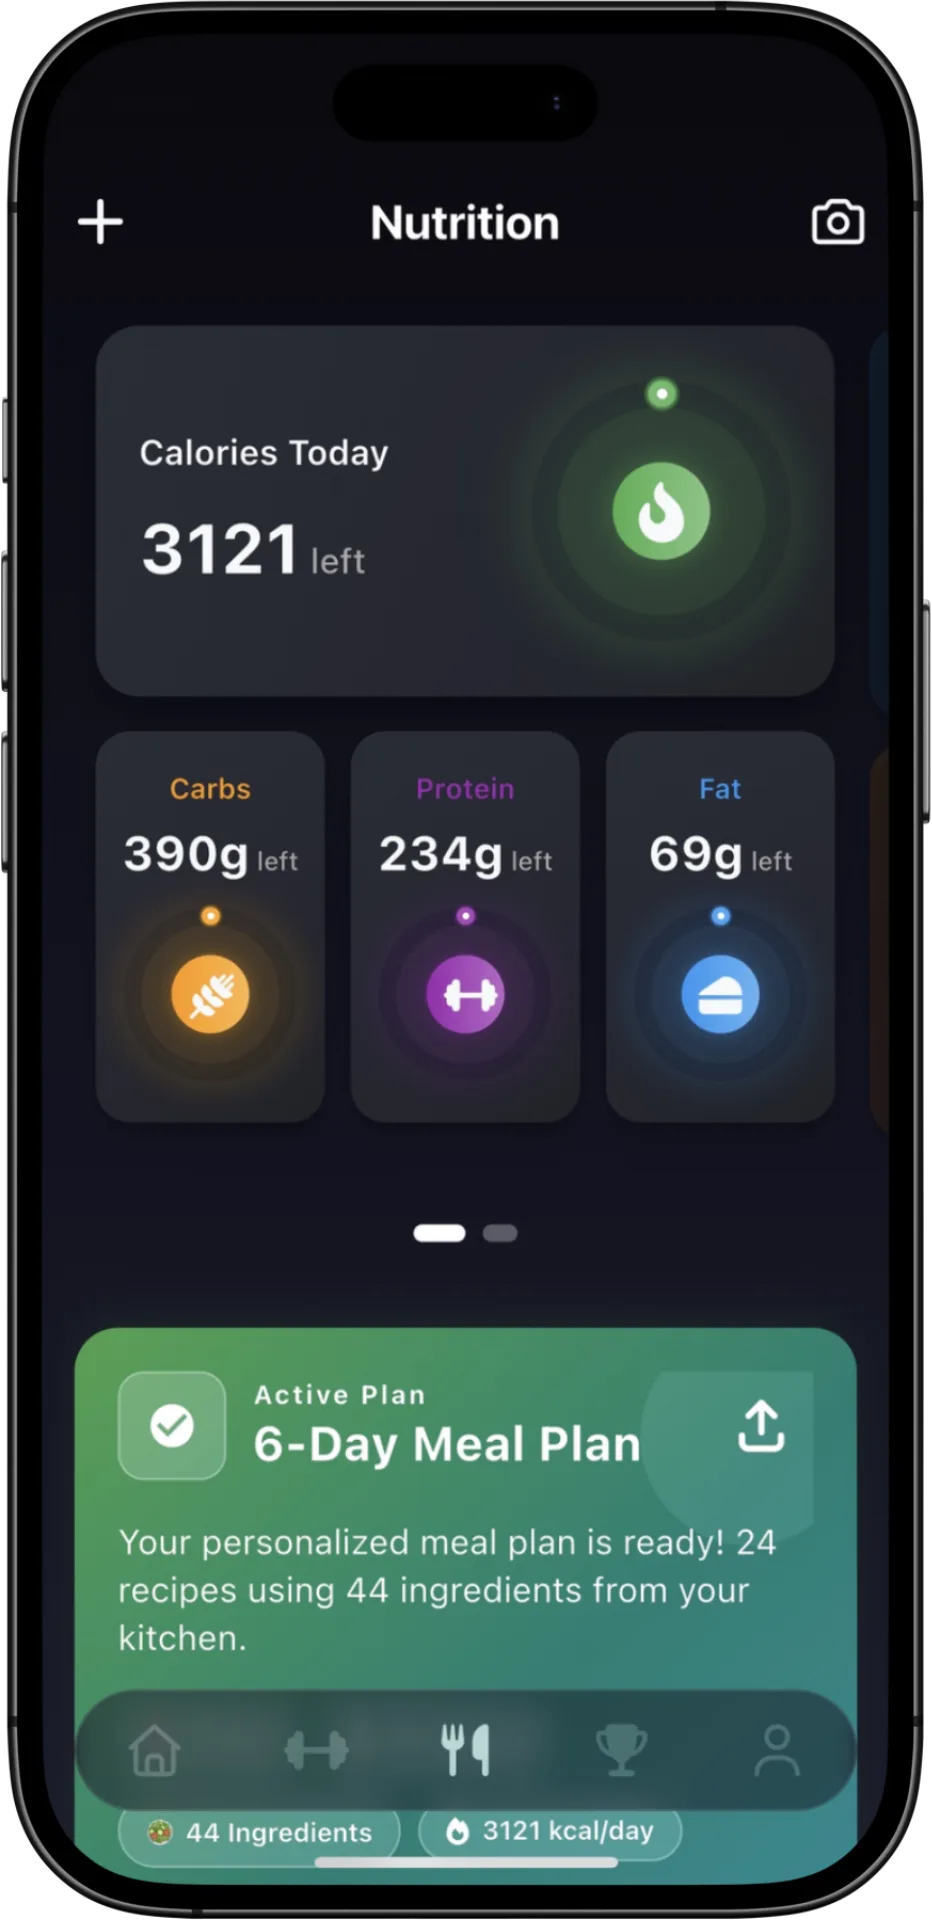
To optimize your recovery, utilize the AI Food Scanning feature in FitFlow. After a grueling back session, you can simply snap a photo of your post-workout meal. The AI recognizes over 2 million foods and provides an instant breakdown of your protein, carbs, and fats. For deadlifters, aiming for 0.8g to 1g of protein per pound of body weight is a scientifically backed starting point for hypertrophy and recovery.
If you are following a specific dietary preference like Keto or Paleo, FitFlow’s meal plans can be tailored to ensure you're getting enough micronutrients—like magnesium and zinc—which are vital for muscle function and hormonal health. The Recipe Builder also allows you to calculate the exact nutritional breakdown of your homemade 'bulking' meals, ensuring you stay within your caloric targets for muscle gain or weight loss.
Final Thoughts
Mastering the deadlift is a lifelong journey. It requires patience, respect for the weight, and a commitment to technical excellence. By focusing on a perfect setup, maintaining a rigid spine, and using data-driven tools like FitFlow to track your nutrition and lifting volume, you can transform the deadlift from a daunting challenge into your strongest asset. Stop 'lifting' and start 'training'—your back (and your PRs) will thank you.
Sources & References
- Can changes in resistance exercise workload influence internal load, countermovement jump performance and the endocrine response? — Hiscock DJ, Dawson B, Clarke M (2018)
- Lumbar spine stability can be augmented with an abdominal belt and/or increased intra-abdominal pressure — Cholewicki J, Juluru K, Radebold A (1999)
FitFlow Editorial Team
Fitness & Nutrition Editorial TeamCertified personal trainers & nutrition coaches
The FitFlow Editorial Team is a group of certified personal trainers, nutrition coaches, and fitness writers who translate exercise science and nutrition research into practical, actionable guidance. Every article is grounded in peer-reviewed sources and reviewed for accuracy before publishing.
Frequently Asked Questions
Who is this guide for?
This guide is for anyone focused on strength training and looking for practical, sustainable progress.
How quickly can I apply these recommendations?
Most recommendations are designed for immediate implementation. Start with one change today, then layer improvements weekly.
How does FitFlow support this strategy?
FitFlow supports execution with AI-powered meal tracking, workout planning, and progress analytics that help you stay consistent.